icon_map
The pIT

Jackson Hall 011
35 Fifth Field Company Lane

icon_phone
x32442

+1 613-533-2442

icon_chat
Live Chat

Start a live chat with one of our techs

How Can We Help?

How to add Schoeffer printers to macOS

How to add Schoeffer printers to macOS

Synopsis

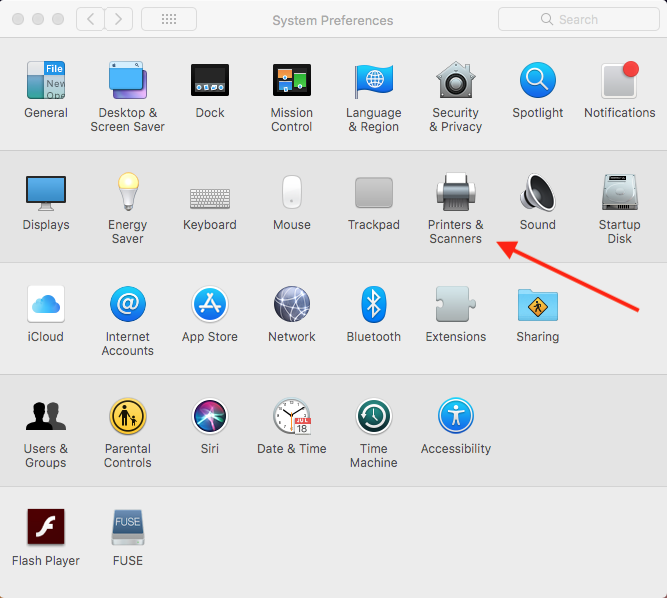
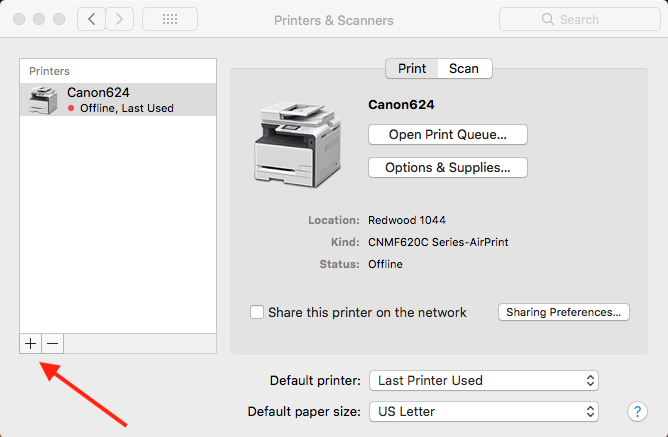
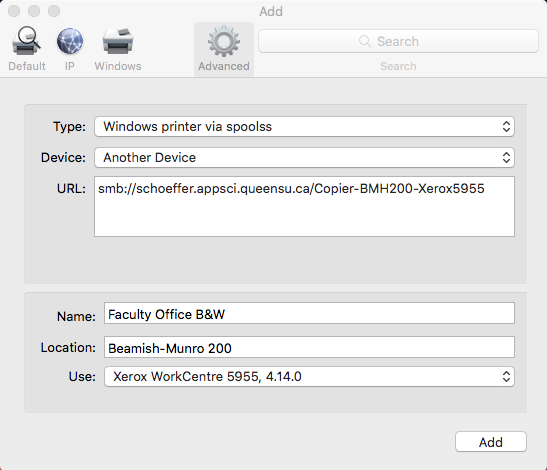
The following instructions are the recommended method for connecting a FEAS network printer -- hosted on Schoeffer -- to a macOS user computer. This method supports the authentication of users via NetID to connect to the printer(s) they have been granted access to. Schoeffer hosted printers are managed by PaperCut MF for usage and billing.

Downloads

Xerox Print Drivers for macOS

There is not a single print driver available for all of the Xerox models currently in use in FEAS as there is for windows.  Here are the models currently in use:

Instructions

If you have not already done so, use a link from the Downloads section to download the appropriate installer for the printer you wish to add.  Run the installer to add the printer drivers and definition files to your Mac. 

IMPORTANT: Do not attempt to use the driver installer to add the printer; this method does not work in our environment.

Open System Preferences

click for full image
Click on “Print & Scan” and unlock the preference pane (if necessary).  Then click on the “+” underneath the list of printers and select Add Printer or Scanner… from the drop down list.
click for full image

An Add window will appear.

click for full image

Check for an Advanced icon  in your toolbar.

  • I do not have an Advanced icon – go to step 6.
  • I do have an Advanced icon – skip to step 8.
click for full image

To add the Advanced icon to your tool bar, right click or CTRL+click on the tool bar and select Customize Toolbar…

click for full image

Drag the Advanced icon up onto the toolbar to your desired location and click Done.

click for full image

Click on the Advanced icon.

click for full image

Enter the following information in the fields of the Advanced Add window:

  • Type: Windows printer via spoolss
  • Device: Another Device
  • URL: smb://schoeffer.appsci.queensu.ca/ (An example of a printer name would be Copier-BMH200-Xerox5955)
  • Name: Enter the name of the printer – this can be the same name used above or a friendly name such as CHEE Copier.
  • Location: Building/room where printer is located.
  •  Use: Generally select Select Printer Software…, locate the appropriate driver for the
    printer, and click OK.
click for full image

Click the Add button.

Not all printers, but some will prompt for you to configure the installed options.  Set the options as appropriate to the printer being added.  Then click OK.

click for full image

Send a test print.

If you have saved your credentials, there are extra steps macOS users need to take when you are required to change your NetID password.  You can find those instructions here.